Description
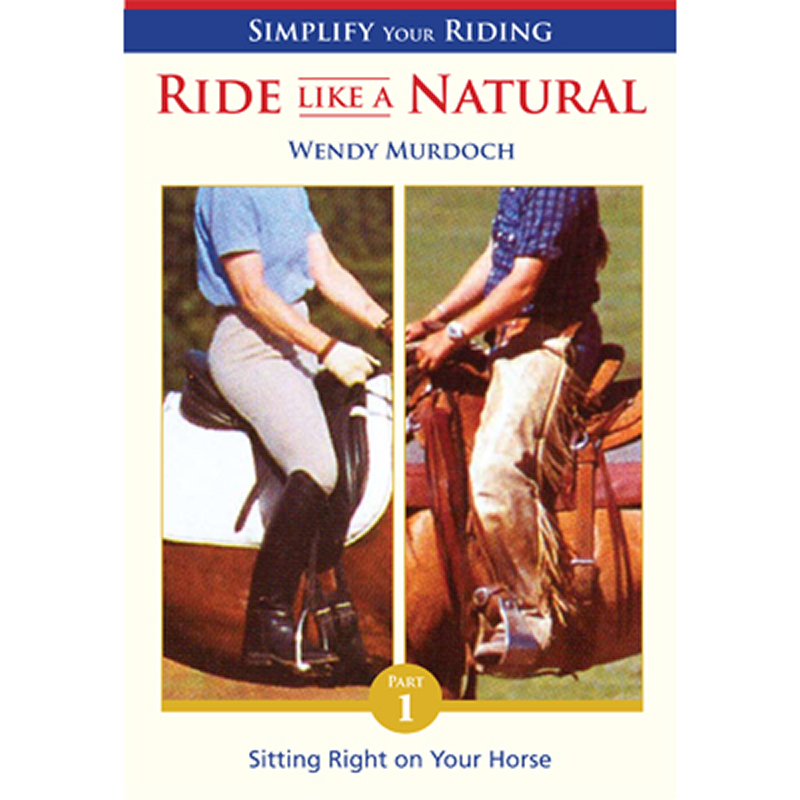
Simplify Your Riding Ride Like a Natural®
In these DVDs you will learn how to do what great riders do naturally.
Wendy Murdoch leads you through a series of exercises that will make positive changes to your riding and your horse’s performance. Improve your communication, comfort and partnership with your horse in minutes not lifetimes.
Part 1. Sitting Right on Your Horse
In this DVD Wendy shows you why it is important to sit in line with gravity and how to find this solid, safe position. You will learn:
• Why it is important to sit right on your horse
• How pain adversely influences learning and responsiveness
• How to find a solid, balanced position on your horse
• How to feel when you are in good alignment
• How to improve your breathing
• Achieve unity with your horse through your powerful new position
DVD Chapters
Introduction
The goal of the Ride Like a Natural series is to teach people how to ride safely, efficiently and effectively. This DVD will be a solid reference in your library to check your riding position and function, no matter which riding discipline you are interested in.
How to Use This DVD
The better you can sit in line with gravity, so that the force of gravity travels down the spine and into the pelvis, the less muscular work you have to do in order to ride well. With good alignment, you will have security in the saddle and be able to stay with your horse in a balanced and comfortable manner.
Why Alignment is Important
Wendy uses Elmer the skeleton to provide an inside view of the body. She then demonstrates what this balance looks like on a horse at a standstill and in motion.
Learning
There are three main types of learning: auditory, visual and kinesthetic. Although we are typically taught through verbal instruction and visual demonstration, riding is primarily a kinesthetic activity. Therefore it is important to experience through feel so that your nervous system learns the difference between being out of balance and being in balance.
Horse/Human Anatomy
Horses and humans actually have very similar skeletal structures. While humans have a collarbone to act as a passive strut between the shoulders, a horse’s ribcage is suspended between the shoulders by a muscular sling mechanism. The horse’s stifle corresponds to the human knee and they stand on what is equivalent to our second toe.
Lesson 1/ The Pelvis
How to find an even and balanced position in the rider’s pelvis. Wendy demonstrates how small changes make a big difference in the stability of the rider in the saddle.
Lesson 2/ The Torso
Bringing the ribcage into alignment over the pelvis. A hollowed or overly-rounded back will affect the rider’s ability to follow the forward motion of the horse.
Breathing
Breathing in the chest versus the abdomen and how it relates to alignment in the saddle.
Lesson 3/ Shoulders & Arms
How to find a solid position in the rider’s back and arms for kind and steady rein contact.
Lesson 4/ Head
How to efficiently and effectively balance the rider’s head while on the horse.
Lesson 5/ Legs & Feet
When the head and ribcage are aligned over the pelvis then there is overall less muscular effort and the hips are free to move because you are balanced over your skeleton.
Lesson 6 / Power Position
Why do we want to have good alignment? In order to have security in the saddle and to stay with your horse while balanced and comfortable.
Conclusion
In this video you will learn the importance of being in alignment with gravity and how it affects your horse’s ability to respond to your aids. This means that the pelvis is in alignment, with the upper body carried over the pelvis and the head positioned over the shoulders. This is the place where the least amount of muscular effort is required and the easiest place for the horse to carry you.

